This guide provides step-by-step instructions for administrators to authenticate their access, navigate to the client management area, register new client entities, and monitor project health and productivity metrics within the SAASMAP ecosystem.
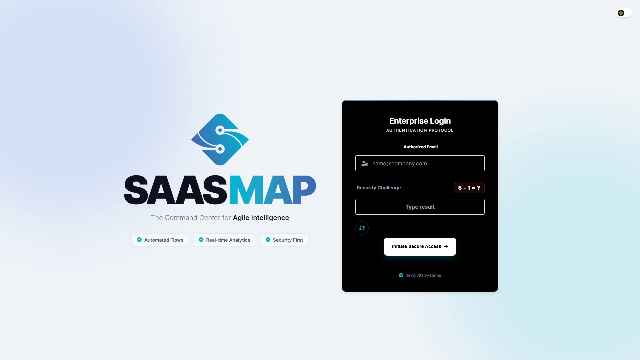
Step 1: Access the Enterprise Login
Begin by entering your authorized email address and completing the mathematical security challenge provided on the login screen.
Pro Tip: Ensure you solve the captcha correctly to enable the sign-in button.
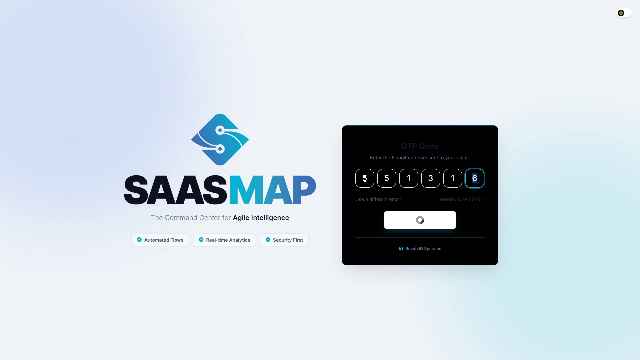
Step 2: Complete Multi-Factor Authentication
Enter the 6-digit One-Time Password (OTP) sent to your registered contact method to securely access the dashboard.
Pro Tip: Codes typically expire within a few minutes; enter it promptly to avoid session timeouts.
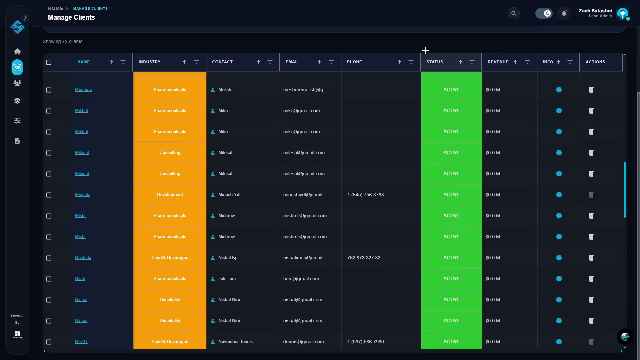
Step 3: Navigate to the Manage Clients Dashboard
Locate and click the ‘Clients’ icon on the left-hand navigation sidebar to open the comprehensive client management table.
Pro Tip: You can filter clients by status or industry using the headers in the table view.
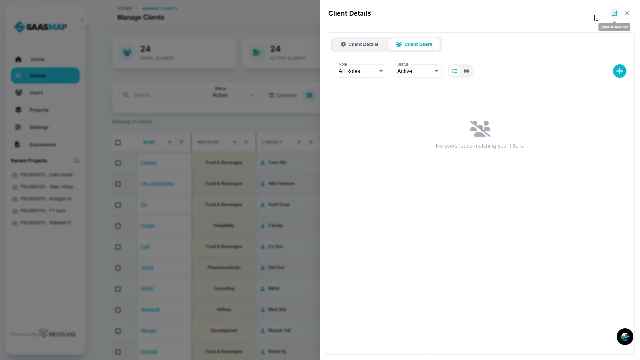
Step 4: Open the Add New Client Wizard
Click the blue ‘+’ circular button located at the top right of the client table to initiate the onboarding process.
Pro Tip: Check if the client already exists in the ‘Pending’ tab before creating a new entry.
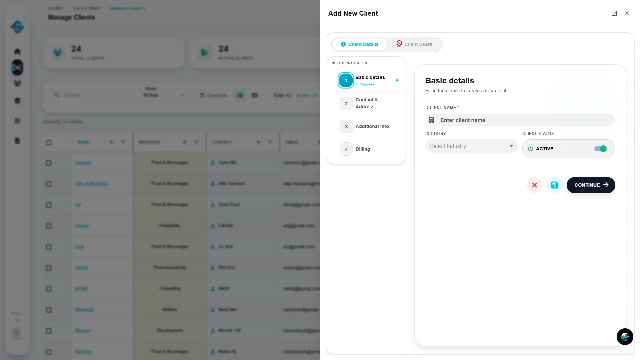
Step 5: Enter Client Basic Details
Fill in the required information including Client Name and Industry. Ensure the ‘Active’ toggle is enabled if you want the account to be live immediately.
Pro Tip: Providing accurate industry data helps in categorizing analytics later.
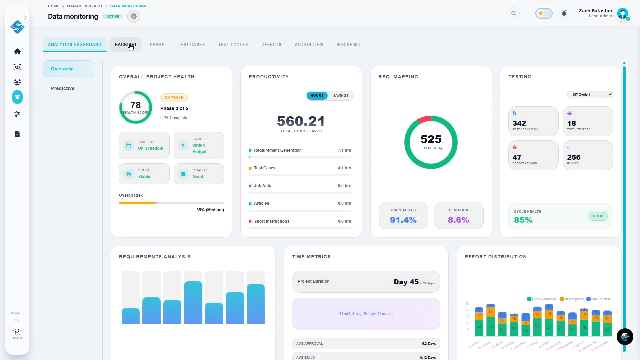
Step 6: Analyze Client and Project Health
Use the ‘Data Monitoring’ tab to review high-level metrics such as Productivity scores, RPC Mapping, and overall Project Health.
Pro Tip: Regularly monitor the ‘Health Score’ gauge to identify projects that may require intervention.